Steam · Windows PC · Version-aware guides
Every Day We Fight: find your next move
Consoles taking no damage? You can use a gun when the upper weakpoint is exposed. After one console breaks, the others are protected for one turn. Start with the full Sabotage state check below.
Choose a symptom or a squad decision below: mission targets, combat states, character skills, weapon parts, crafting, exploration, progress, PC controls or named enemies. Each guide keeps its source dates and version limits beside the answer; EA build templates and unknown-build Codex captures are identified explicitly.
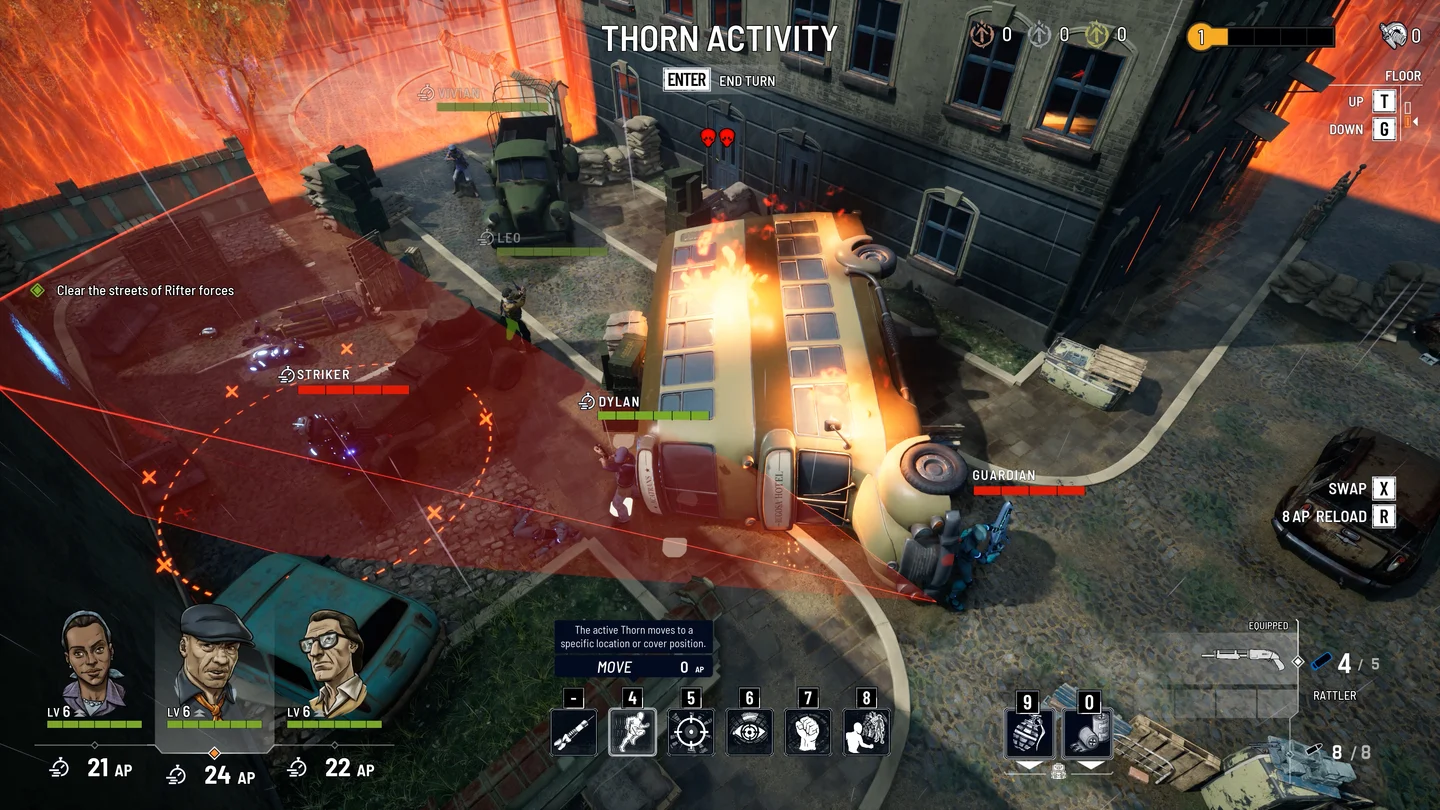
Every Day We Fight: destroy protected Sabotage consoles
Every Day We Fight Sabotage help: identify the exposed console weakpoint, use a gun without grenades, and wait through the remaining consoles' one-turn protection.
Find your next stepEvery Day We Fight: destroy a Harvester before it teleports
Every Day We Fight: Target the Harvester's three Power Core exhaust ports from higher ground, use defensive pauses to reposition, and watch its escape countdown.
Find your next stepEvery Day We Fight: find the keyboard binding list
Find the Every Day We Fight keyboard bindings in Settings, Controls, then the bottom of the top pane. Includes arrow-key setup and a check after rebinding.
Watch the game
Every Day We Fight — 1.0 launch trailer
See the official 1.0 gameplay trailer for the game's tactical view and real-time aiming. Poster: official key art, not a video frame.
Choose a guide for your next move →Find a guide
Pick the problem in front of you
Missions
Start with the object named in your objective. A protected antenna console, a Harvester core, and a shielded Rifter are different targets; one target's protection rule does not explain all three.
Choose from all 5 guidesCombat
Match the visible problem before spending another action. Armor and shields need different checks; cover angles, reticle bloom and status effects can explain an attack or movement problem without an equipment change.
Choose from all 7 guidesCharacters
Start with the Thorn you are building, then check the trigger and prerequisite behind the desired skill. The three build routes are attributed EA templates with explicit 1.0 cross-checks, not an all-build best-ranking claim.
Choose from all 5 guidesWeapons & mods
First decide whether the problem is the weapon slot, obtaining the gun, fitting a part, selecting a fire mode, or activating a perk. A high-rarity part is useful only if its compatibility and trigger match your plan.
Choose from all 5 guidesCrafting & loot
Use the current workbench or reward screen as the deciding check. Separate unlocking an item, spending Scrap, using a stash key and selecting a reward; these are different decisions with different feedback.
Choose from all 4 guidesExploration
Identify the obstacle before choosing a tool. A padlock needs a line of fire, a teleporter needs a valid landing, and the two barrier types need their own identification and safety checks.
Choose from all 4 guidesProgress
Choose the stage of the run you want to understand: saving and resets, the character side-quest prerequisite, or continuing after the campaign. For a physical door or barrier, use Exploration instead.
Choose from all 3 guidesPC controls
Match the input to the screen you are using. Exploration movement, combat turns, keybinding panes, and new-run setup do not share one control or menu path.
Choose from all 4 guidesEnemies
Start with the named enemy and the behavior you can observe. Healing, a watched approach and retaliation need different responses; these guides keep the Codex capture limits beside the answer.
Choose from all 3 guides